

A Finger Lakes Waterfall Photography Guide
How to plan, shoot, and come home with polished waterfall images from two of the Finger Lakes’ most rewarding photography destinations.
The Finger Lakes region of upstate New York is a dream location for waterfall photography. Long, narrow lakes, steep gorges, layered rock walls, and shaded trails combine to create scenes that feel cinematic even before you raise the camera.
This post focuses on two standout areas: Watkins Glen and Ithaca. Both offer dramatic gorges, atmospheric mist, rich textures, and plenty of opportunities for long-exposure compositions. Rather than trying to catalogue every waterfall in the region, the goal here is to help you approach these locations like a photographer—with timing, light, gear, and composition in mind.
Whether you are building a travel portfolio, planning a weekend photo trip, or simply hoping to return with cleaner images, the key is preparation. These gorges can be wet, crowded, dark, bright, muddy, slippery, and spectacular—often all in the same morning.
Quick Tips (Before You Go)
- Best season: Fall is hard to beat for colour, but late spring and early summer can offer stronger water flow. Gorge trails are often seasonal, so confirm trail status before travelling.
- Best time of day: Arrive as early as possible, especially at Watkins Glen. Early starts mean fewer people, cooler conditions, and more time to work each composition carefully.
- Best light: Overcast skies are ideal for waterfall photography because they soften contrast and reduce bright hot spots on wet rock and foliage. On sunny days, aim for early morning or shaded sections of the gorge.
- Weather matters: A dry spell can leave falls looking thin, while heavy rain can make the water powerful but muddy. Check recent rainfall and be prepared for spray, slick stone, and changing conditions.
- Gear protection: Bring a rain cover, micro-fibre cloths, a sturdy tripod, a circular polarizer, and a comfortable camera bag. Water-resistant hiking boots are strongly recommended.
- Crowd strategy: Shoot early, compose tighter when needed, and wait patiently for natural gaps in foot traffic. A few extra minutes on location can save a lot of editing later.
Enjoying this guide? Subscribe to get new location breakdowns, field notes, and practical shooting tips.
Watkins Glen State Park: Photographing the Gorge Trail
Watkins Glen State Park sits just outside the village of Watkins Glen and is one of the signature waterfall locations in the Finger Lakes. The main photographic attraction is the Gorge Trail, where stone steps, narrow walls, bridges, plunge pools, and cascading water create a sequence of ready-made compositions.

For photographers, the Gorge Trail rewards a slow approach. Instead of rushing from one landmark to the next, pause at bends in the path and look for layers: foreground water, mid-ground stone, and background bridges or cliff walls. Rainbow Falls is the classic frame, but smaller cascades often produce cleaner images because they attract fewer visitors and allow more control over composition.

If you start from the Upper Entrance, remember that the descent down Jacob’s Ladder to the gorge bottom is only half the story: the return climb can be demanding, especially with camera gear. Many photographers prefer starting at the Main or South Entrances and working their way upstream so the best scenes unfold gradually while the light is still soft.
How to Shoot the Gorge
- Use a tripod when conditions allow: It gives you the stability needed for slower shutter speeds and thoughtful framing.
- Add a circular polarizer: This helps reduce glare on wet rock, deepen color in foliage, and reveal texture beneath the water surface.
- Vary your shutter speed: Try silky long exposures for mood, then make sharper frames that preserve the energy and texture of fast water.
- Protect the lens: Mist builds quickly near cascades. Wipe the front element often and check every frame for droplets.
- Respect the trail: Stay on marked paths and work from safe positions. The strongest image is never worth stepping onto slick or restricted rock.
My Watkins Glen Captures (taken in late May)


Ithaca: Gorges, Cascades, and Urban Waterfalls
Ithaca, New York, is best known today for Cornell University, but its photographic character is rooted in a much older story. Long before the city became associated with Ivy League architecture and campus life, its rivers and creeks powered flour, pulp, and paper mills. That industrial past still lingers in the landscape, adding texture and atmosphere to a city now defined by gorges, bridges, stonework, and rushing water.
Within a short drive of downtown, Ithaca offers an exceptional concentration of waterfalls, gorge trails, and urban nature scenes. With limited time, I focused on three highly photogenic locations: Cascadilla Gorge Trail, Buttermilk Falls State Park, and Ithaca Falls. Together, they provide a strong mix of intimate cascades, dramatic drop-offs, layered rock, and accessible viewpoints.
Look for scenes that combine scale and texture: a broad waterfall framed by trees, a narrow cascade cutting through layered rock, or a trail that leads the viewer’s eye deeper into the gorge. Ithaca is especially useful when the weather is unsettled, because overcast skies, damp stone, and moving water can all work in your favour.
Cascadilla Gorge Trail

Just steps from downtown, Cascadilla Gorge Trail is one of Ithaca’s most easily accessible photography locations: compact, dramatic, and rich with compositions.
The trail connects the lower city with the Cornell campus, following Cascadilla Creek through a steep stone corridor of waterfalls, staircases, bridges, and layered bedrock. For photographers, its value is not only the number of cascades but the variety of angles: low foreground water, vertical rock walls, leading lines from the stone steps, and elevated views back through the gorge.
Start near Treman Triangle Park on Linn Street and plan to move slowly. The stone pathways can be slick, and the best frames often appear between the obvious viewpoints. Use a polarizer to manage glare on wet rock, keep a cloth handy for spray, and look for smaller details—fallen leaves, textured shale, water trails, and repeating stair patterns—that help round out a stronger gallery.


Buttermilk State Park

Located only a short drive from downtown Ithaca, Buttermilk Falls State Park is one of the area’s most accessible and rewarding waterfall stops. The main falls appears almost immediately near the lower entrance, making it an excellent place to begin with a classic wide composition before heading onto the trail for more intimate scenes.
From the base, the Gorge Trail climbs alongside Buttermilk Creek through a sequence of cascades, pools, and sculpted rock. The elevation gain is noticeable, especially with camera gear, but the payoff is a series of quieter compositions beyond the first viewpoint. Arrive early for softer light and fewer visitors, and be prepared for wet stone, changing water levels, and plenty of opportunities to experiment with shutter speed.


Ithaca Falls
Ithaca Falls delivers the most immediate sense of scale. It is broad, powerful, and easy to access, which makes it ideal for a dramatic closing image in a waterfall series. Work from safe, designated areas, include surrounding rock and trees for scale, and avoid crowding the frame unless people add useful proportion to the scene.
I did not have a lot of time, or the best conditions when visiting Ithaca Falls, but it was truly impressive and I can see it being ideal for a sunset shoot (with the setting sun at your back when you are facing the falls.).

Want more guides like this? Subscribe for new locations, composition breakdowns, and field-tested gear notes.
Photography Tips
- Shutter Speed: There is some debate about the ‘right’ shutter speed to use when shooting waterfalls, but it really comes down to personal preference. As I prefer a velvety texture to the flowing water, most of my images were shot with 1/4 to 1/8th of a second.
- Tripod: When shooting at these slow shutter speeds you will definitely need a tripod. Additionally you may need to capture several exposures (for HDR images) depending on the lighting conditions.
- Lenses: I used both a short telephoto, 24mm – 125mm (on a full frame camera), and a 14-30mm wide-angle for the best flexibility.
- Polarizer: Great for controlling glare and deepening color, but use it carefully on ultra-wide lenses—uneven polarization can create blotchy skies.
More Waterfalls?
Here is a list of my favorites
Extend your adventure by exploring these gems:
- Mistaya Canyon: Located on the Ice-Fields Parkway in Alberta, one of my favorite hikes with epic mountains in the background.
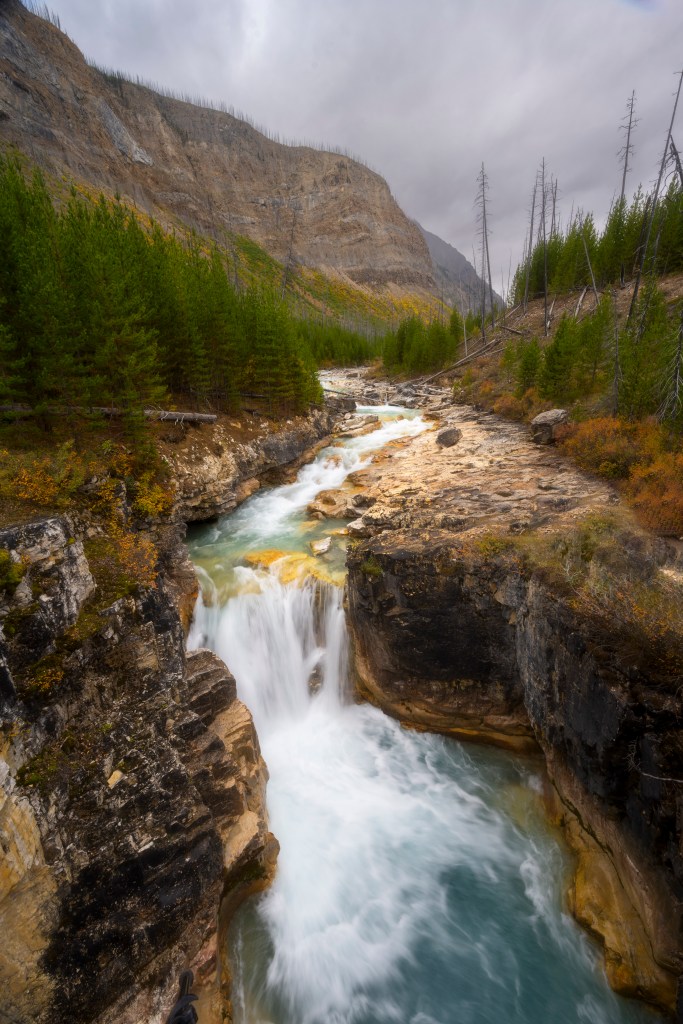
- Marble Canyon: This gem of a hike is located in Kootenay National Park, BC.
- Takakkaw Falls: The second highest waterfall in Canada, and located in Yoho National Park, BC.
- Bingham Falls: Located near the very charming village of Stowe, Vermont.
- Johnston Canyon: Located half an hour south of Lake Louise, Johnston Canyon is a very popular destination, and with good reason. Just get there early to avoid the crowds.
Have you been to any of these locations? Was this post helpful and useful? I would love to hear your comments and feedback.
If you enjoyed this post, consider subscribing for upcoming posts about travel and photography advice.
My Gallery
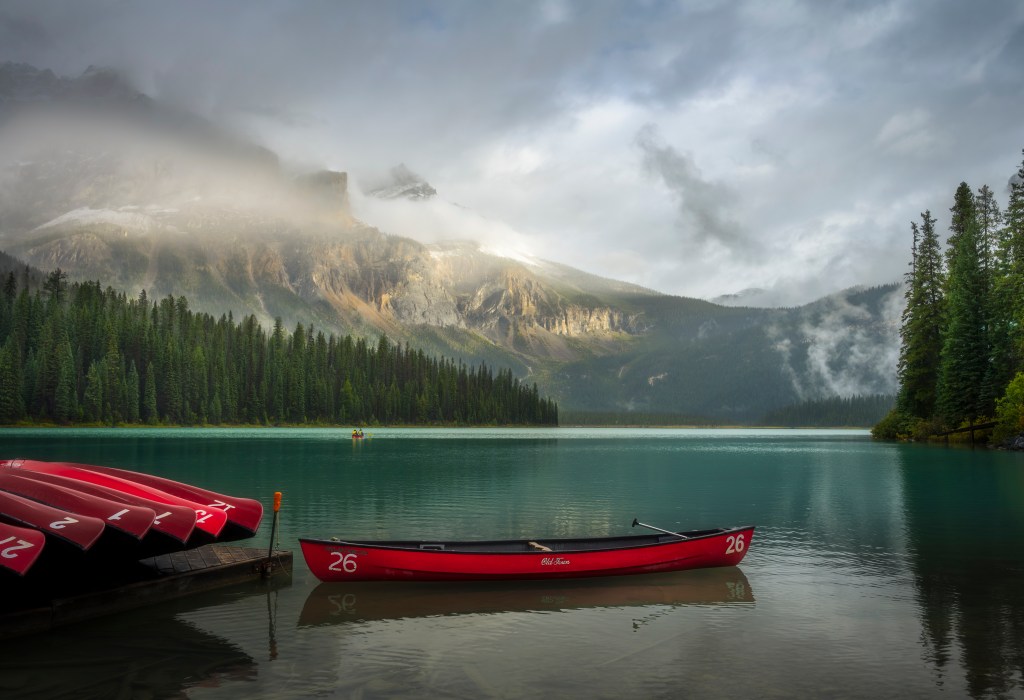
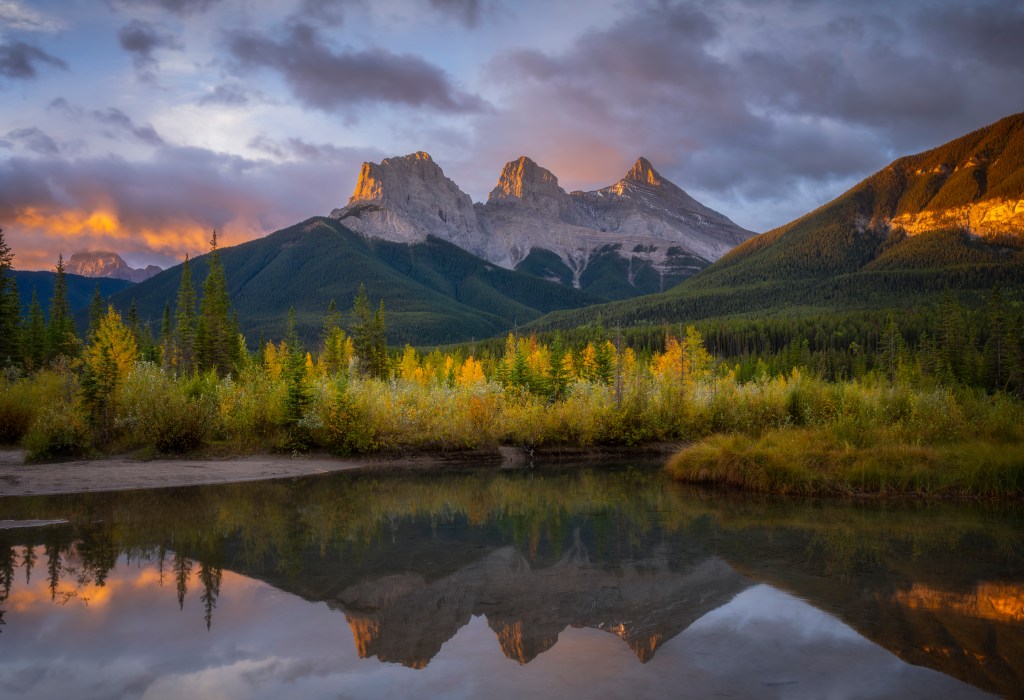
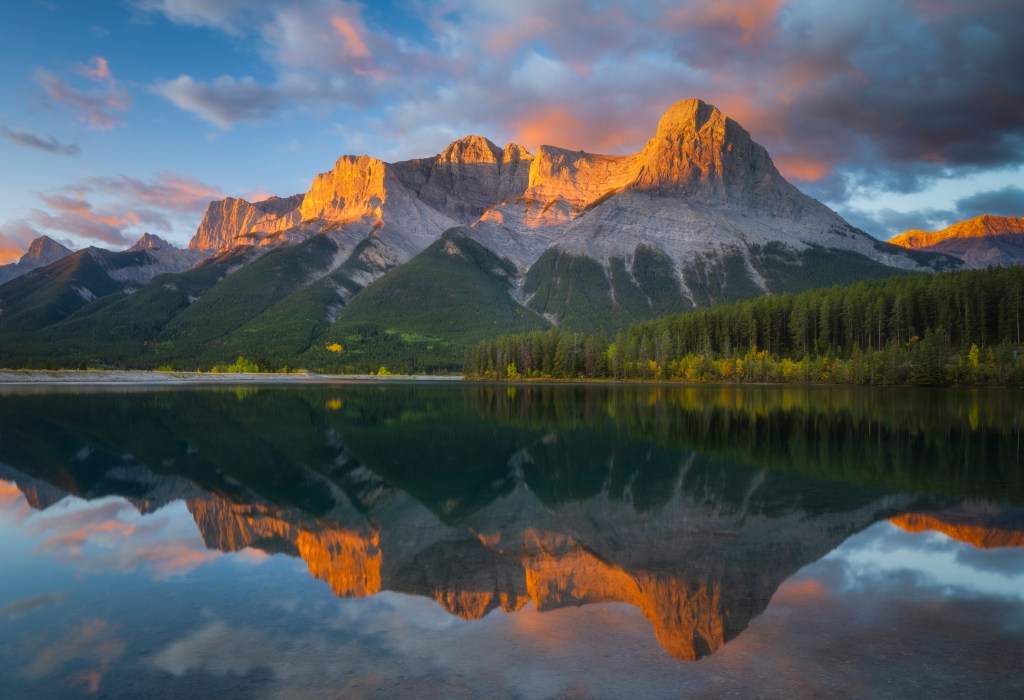
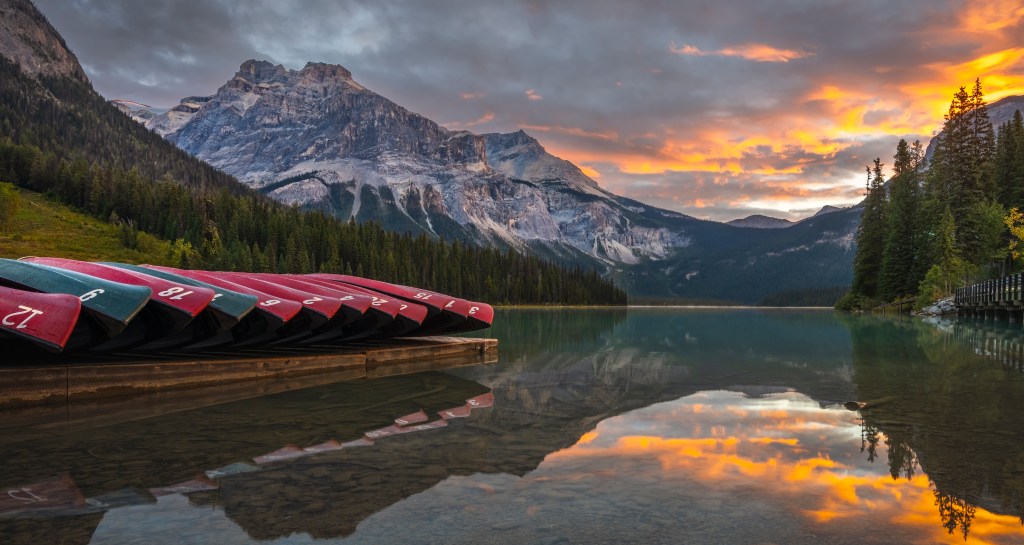
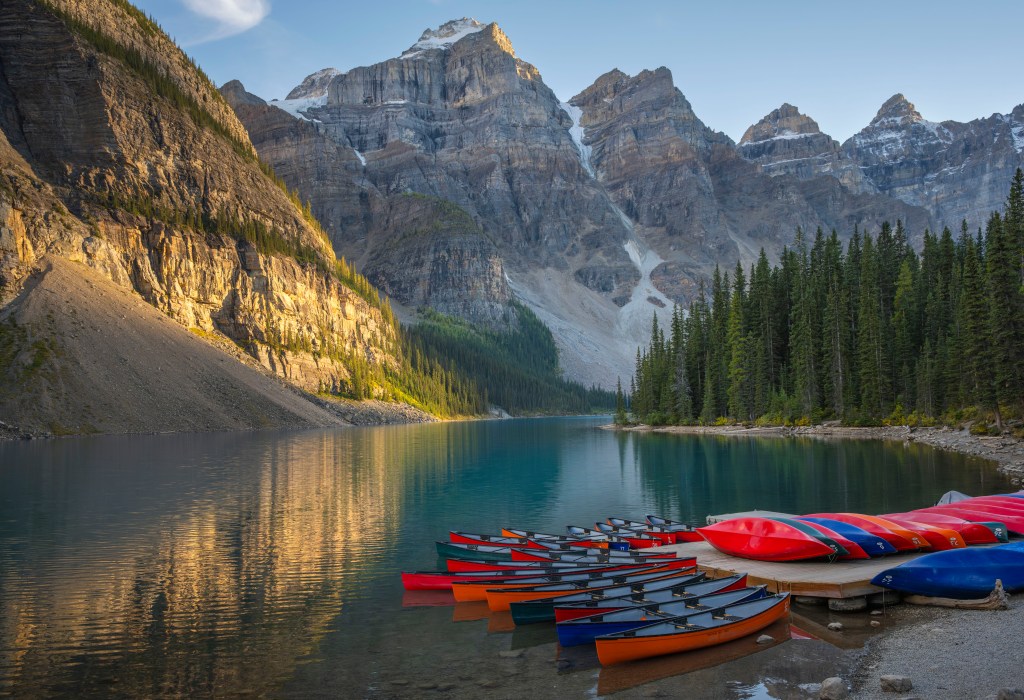
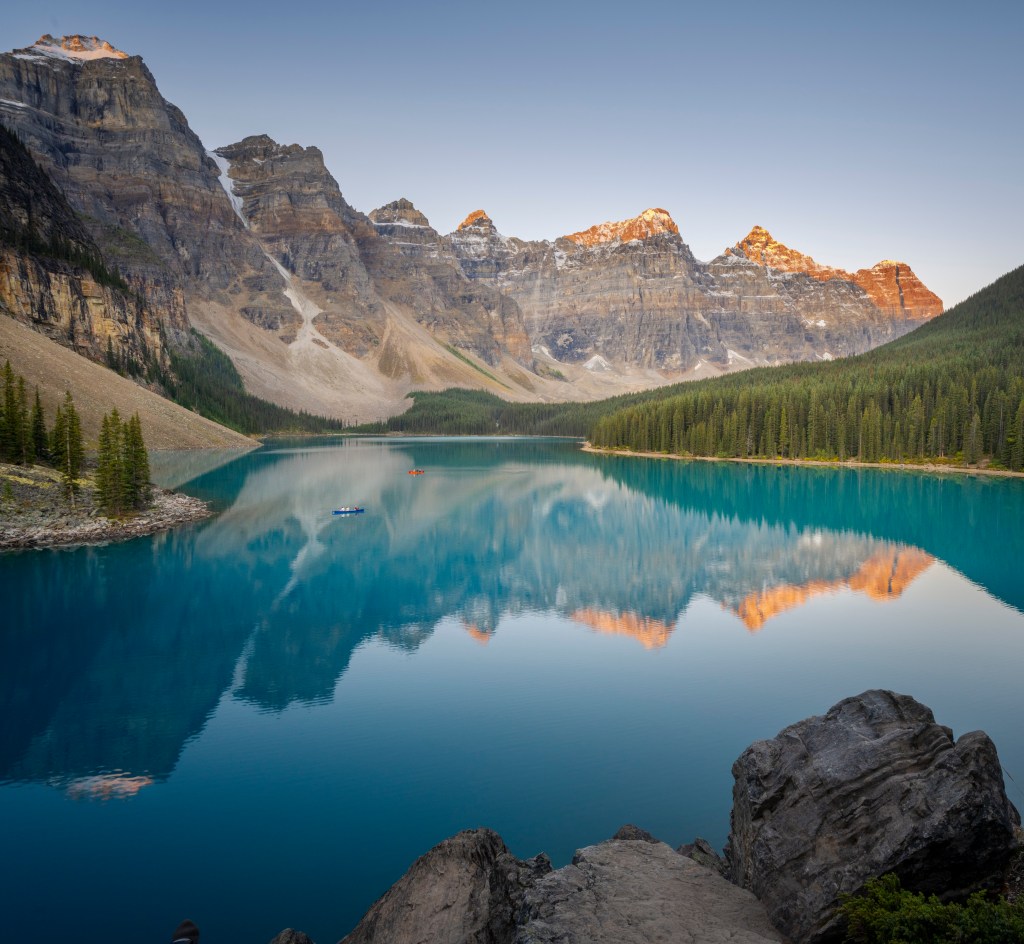
For more great photos of the Rockies, check out my Rocky Mountain Collection here.
I have also partnered with Pictorem, a professional printer who can ship prints anywhere in the world. They can print on a variety of media including metal, acrylic, paper and canvas. They offer a money back guarantee if you are not completely satisfied. If you see an image which you like and it is not available on Pictorem, just contact me here.
Here are some of my favorites.

To get notifications of my future posts subscribe here.

